This is the simplest and safest method to root Nexus 7. Just use the Google Nexus 7 toolkit to do everything from installing adb drivers to backing up nandroid. 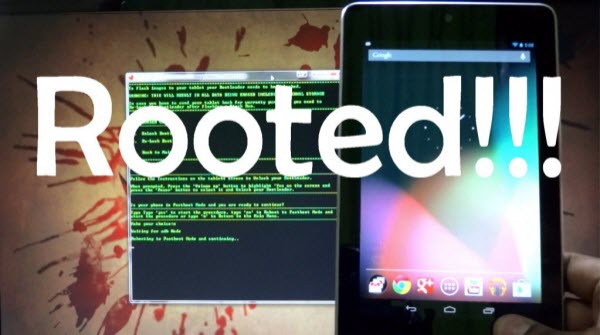
Root Nexus 7 – Step by Step Instructions
Step 1. Download the Google Nexus 7 Toolkit, install it (to default folder) and open it up. It will take a few minutes to open up, might seem to freeze the screen, don’t worry just be patient, it will open up. Type No and hit enter when prompted to update. Step 2. Make sure your Nexus 7 is not connected to the computer and enter option as 1 to install the drivers. 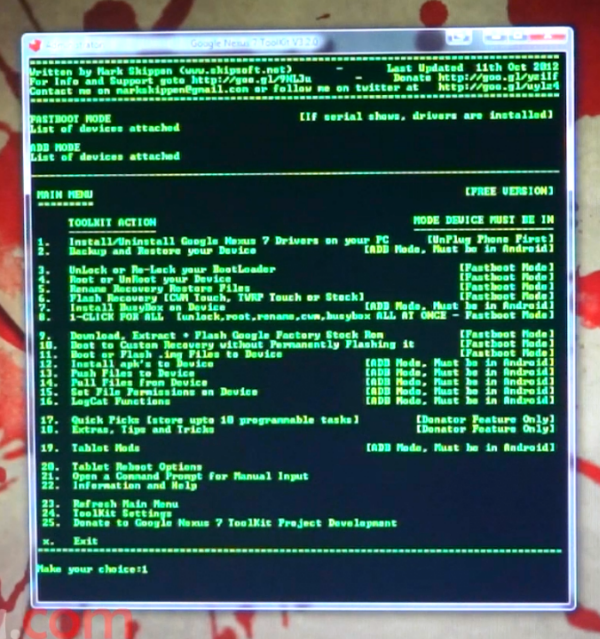 Step 3. Go to Settings -> {}Developer options -> Enable USB Debugging. Once done, connect your Nexus 7 to the computer.
 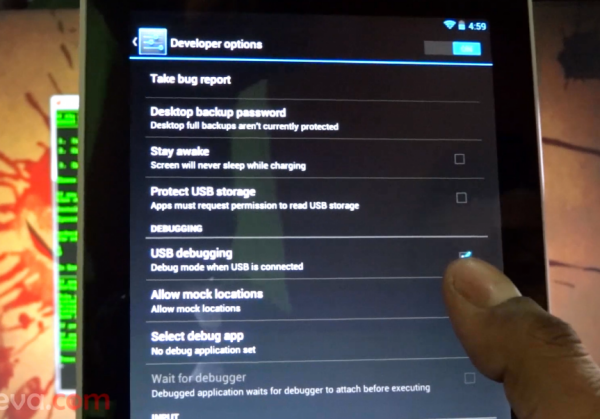 Step 4. Select option 3 from the main menu of the Google Nexus 7 Toolkit and follow the prompts to unlock the bootloader.
 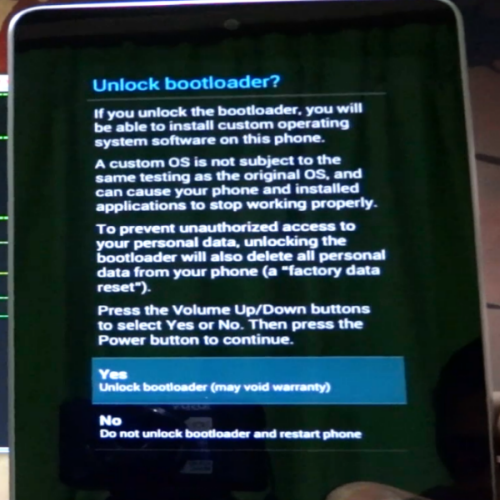 Step 5. Nexus 7 will now reboot, just add your details and finish set-up . Now go back into Settings -> {}Developer options -> Enable USB Debugging and make sure its checked. Step 6. Now select option 4 and follow the steps to Root Nexus 7 (Select Root with Busybox) Step 7. Now select option 5 to rename recovery restore files (to stop the Nexus 7 from reverting to stock recovery). Follow the on screen instructions. Step 8. Once done with Step 8, select option 6 and choose TWRP recovery since CWM for the Nexus 7 seems to have a few bugs.
 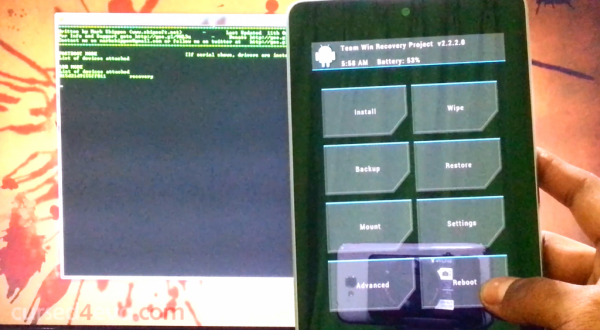 That’s it to Root Nexus 7.
Google Nexus 7 Video Playback Tips
- How to Copy AVI to Nexus 7 for playing
- Watch DVD ISO on Nexus 7 with perfect video/audio quality
- How to transfer media files from PC to Nexus 7
- How to install Adobe Flash Player on Nexus 7 and Nexus 10
Please share this article “Root Nexus 7” if you can.