Samsung Galaxy S4 setup guide: What good is a quad-core phone if you don’t know how to set it up? That’s why we’ve put together our quick start set-up guide for the Samsung Galaxy S4.
Samsung Galaxy S4 Setup Video Guide
Step 1: Insert your Battery, SIM and MicroSD Card
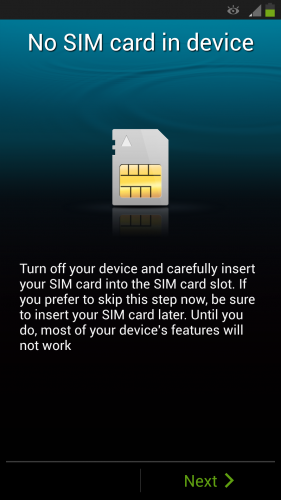
To use your smartphone on your operator’s network, you’ll need a SIM card, which they should have provided. The Samsung Galaxy S4 uses the Micro SIM format (which is the same as the iPhone 4 and 4S). If you don’t install the SIM, you’ll see this screen pretty quickly when setting up.
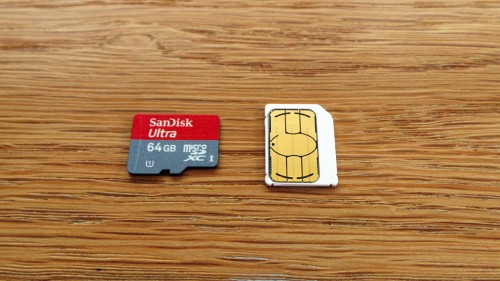
Whilst you’re installing the SIM, it makes sense to also install a MicroSD storage card – this is a tiny memory card (available from most good electronics retailers, and a bunch of rubbish ones too) that can boost the Galaxy S4’s storage by up to 64GB. That’s a lot of storage.
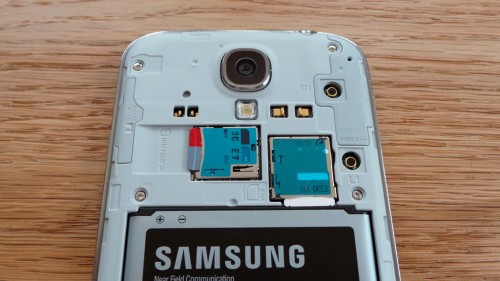
Remove the back cover of the Galaxy S4 to expose the inner sanctum. Drop in your battery in the large rectangular slot, taking care to align the metal pins. Above, you should see the slots for the MicroSD card and SIM.

Insert the MicroSD card into the left hand slot, with the metal elements pointing down. MicroSD cards tend to click in and click out with a locking mechanism – push in as far as it’ll go, then release and it will lock in with a click. Next, push the SIM card into the right hand slot vertically, again with the metallic elements pointing down and the diagonal corner or the SIM on the top left. This should slide in – there is no locking mechanism.
Replace the cover, and power on the phone.
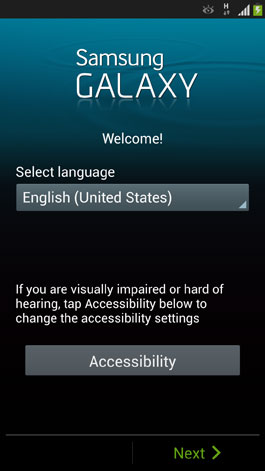
Step 2: Select Your Language and Accessibility Settings
First step is nice and easy – choose your language from the drop down panel, and tap Next. If you need to configure settings for visual impairment or hearing support, then you can do so here. Tap Next to continue.
Step 3: Connect to Your Wireless Network
You’ll be shown a list of available wireless networks – select your preferred option and enter your Wi-fi password.
Once connected, tap Next to continue.
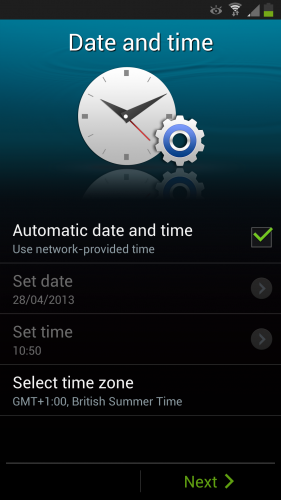
Step 4: Set Up Date and Time
You can manually choose your date and time settings, but handily, there’s an option to have it set automatically. Tap the option you’d like (we’re going Auto) and then Next to continue.
Step 5: Accept the End User License Agreement
Next, you’ll have a license agreement to approve. Read (if you have the time), check the I understand box first. Then you’ll need to decide whether you’re happy to send Samsung log data from any errors experienced by the phone. Some people can be concerned about the phone sending personal data to the manufacturer, so decline this option. Tap the appropriate Yes or No radio button and tap Next.

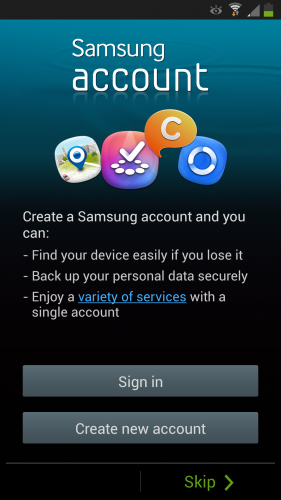
Step 6: Create a Samsung Account or Enter Your Existing Details
Like many mobile device manufacturers, Samsung has their own account system which allows you to backup and restore your device remotely in case of an issue, as well as providing a number of additional services. You can skip this option, but I’d advise you go ahead and either create a new account, or use your existing Samsung account details if you’ve previously registered.
Step 7: Set Up Backup and Restore
If you’re reinstalling your phone, then at this point you can restore a previous backup on the phone by tapping the Restore setting. As it’s our first time, leave the Auto backup option checked, which will backup our phone’s configuration from time to time, and tap Next.

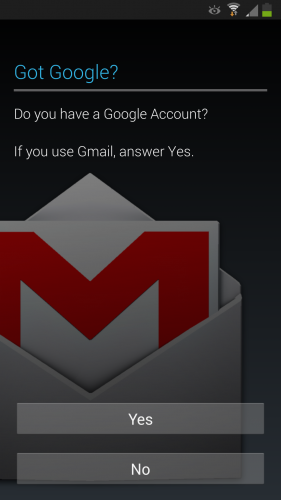
Step 8: Enter Your Google Account Details
If you have a Google Account (I’m guessing that you have), then enter your details next – this allows a number of Google-powered services on the phone to be configured with your account details behind the scenes. If you have other Android devices in the home (such as tablets), using the same account on the phone ensures that apps are synchronised across multiple devices – a great feature.
You’ll be signed into your account and can then choose to backup and restore your phone with Google as well as Samsung. Yes, that’s what’s known as “duplication” in the smartphone bible.
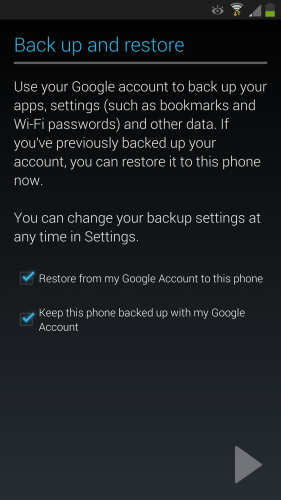
Make your choice and tap Next.
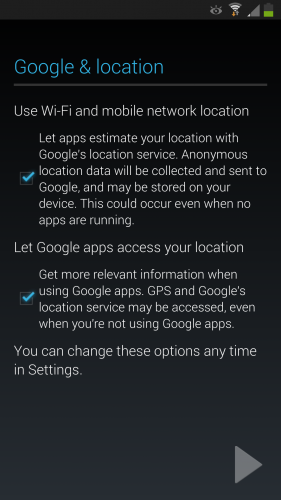
Step 9: Set Up Google Location Services
One of the benefits of owning a mobile phone is the ability to access location-based services, such as weather, maps and more. At this point, you can decide whether you’re happy for Google and apps to anonymously locate your device and use that data for services. Again, you may be comfortable with this or not – I personally am, but it’s a free choice. Change your mind, and you can flick a switch in Settings later to revert. Make your choice, and hit the large arrow.
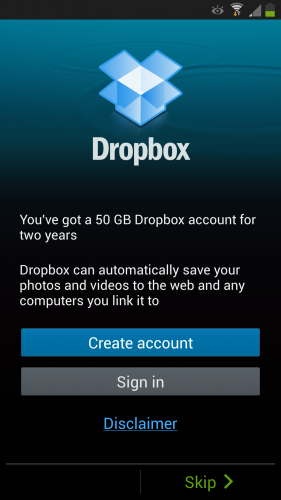
Step 10: Set Up Your Dropbox Account
Dropbox is an (awesome) cloud storage service that allows you to access, share and sync your photos, files and documents across your devices as well as with friends and colleagues. As part of the deal Dropbox has with Samsung, you get a free 50 GB Dropbox account for two years. Highly recommended – it’s the backbone of my digital life and indeed helps a lot with WGS! If you have an existing account, drop in your details and you should have the storage amount added to your Dropbox quota.
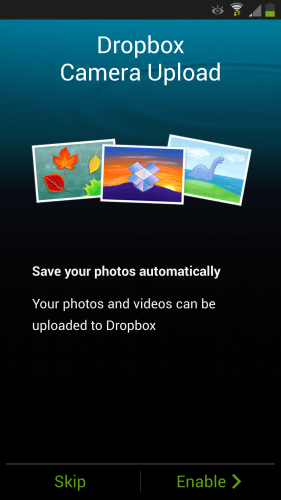
Once your account is setup, you can choose to automatically upload your photos and videos from your phone to your Dropbox account, so it’s accessible quickly on all of your Dropbox-enabled devices. You can choose to configure Dropbox (later) to only sync when a Wi-Fi connection is available, so it doesn’t hammer your data allowance.
Step 11: Learn About and Switch On the Samsung Galaxy S4 Features
Next up, you’ll be presented a list of features to learn about on your phone. A large slider allows you to switch these features on or off, but you can also change them in Settings later on.
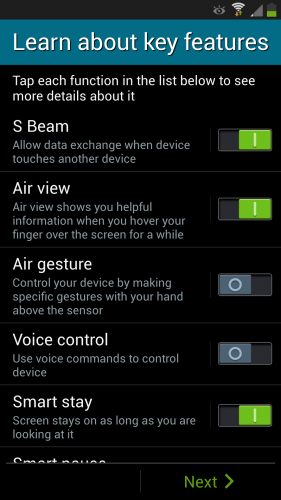
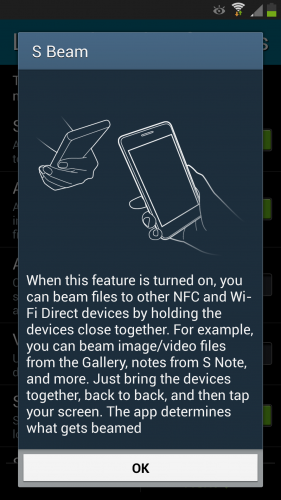
Tap each feature to get a quick overview and decide whether you want these enabled. Hit Next when you’re done.
Step 12: Name Your Device
The final step! Give your Galaxy S4 a name you can recognise when you need to connect Wi-fi or Bluetooth enabled devices.
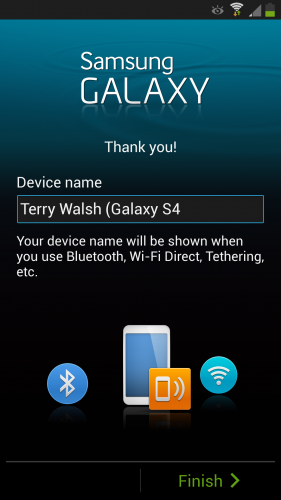
With that, you’re done!
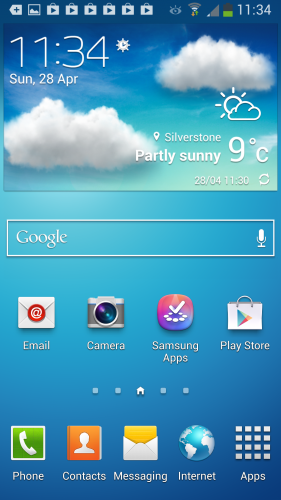
Prepare for a heap of downloads to hit your device as your various online services update, but you’re free to now start exploring your Samsung Galaxy S4.
PS: For more Samsung Galaxy S4 coverage, check out Samposium
Samsung Galaxy Related Tips for Beginner:
- How To Connect Samsung Galaxy S4 To TV
- Watch World Cup 2014 MKV on Galaxy S5 High Resolution Screen
- How to Transfer Musics/Pictures/Videos From Computer to Galaxy S5